A new shipment of labels should not go straight from the loading dock into production merely because the carton has the right item number. A short incoming check can catch the wrong size, incorrect winding, damaged edges, poor print response, or adhesive mismatch before hundreds of packages are labeled. The check should be fast enough to use on every delivery and clear enough that a receiving employee can perform it consistently.
Start with the purchase specification
Keep one approved specification for each label item. It should state the width and length, direct thermal or thermal transfer construction, core diameter, maximum roll diameter, labels per roll or total length, gap or black-mark design, winding direction, adhesive requirement, and intended printer models. Add any critical requirements such as freezer application, removable adhesive, or a preprinted element.
Compare the delivery paperwork and carton labels with the purchase order. Check supplier, item number, material lot, quantity, and stated dimensions. A familiar carton can contain a substitute product. If substitution is allowed, there should be a documented approval rather than an informal decision at the dock.
Do not accept a vague description such as “4 × 6 thermal” as the full specification. Two rolls with that description can differ in gap, core, coating, and adhesive. Those differences can cause missed labels or failures after application.
Inspect the physical roll
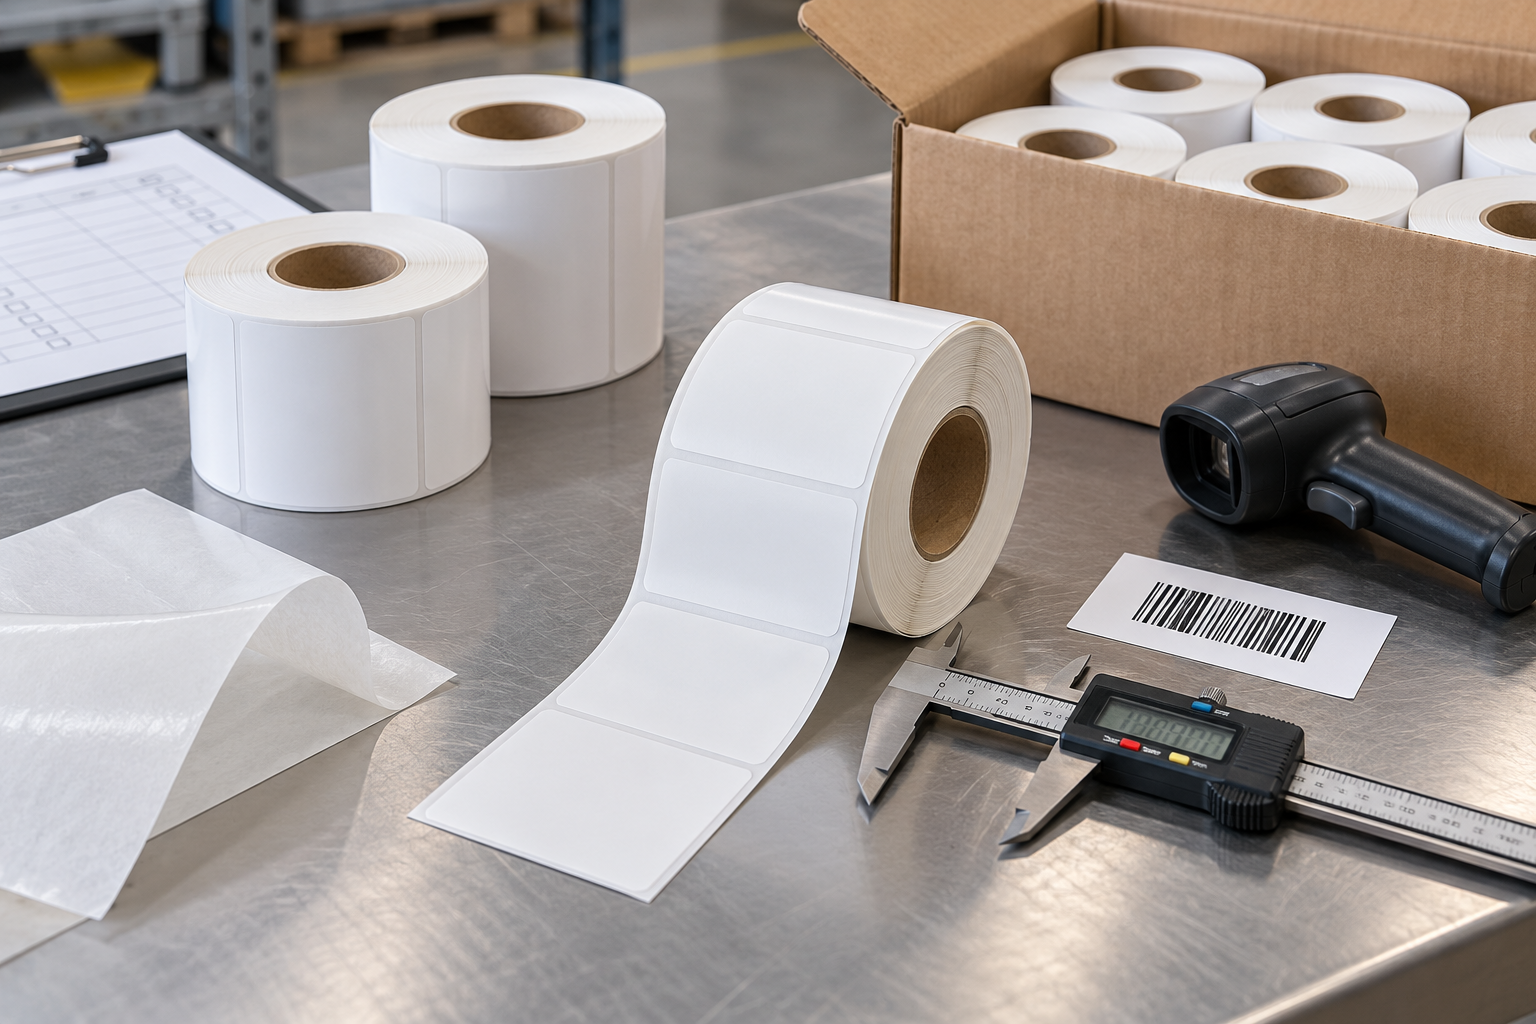
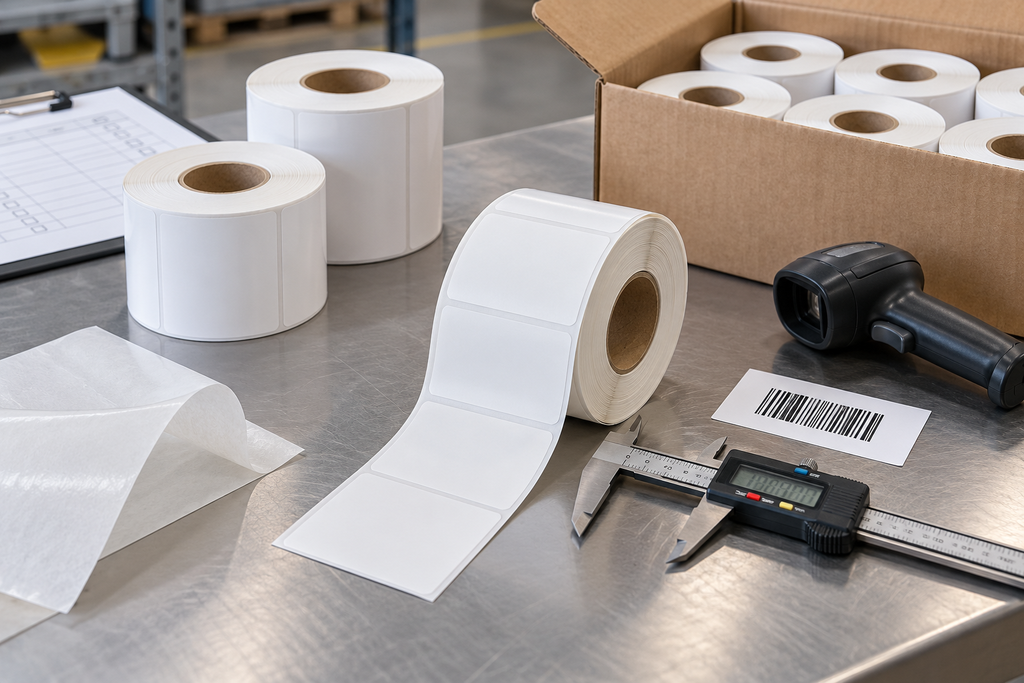
Open samples from more than one carton when the shipment is large or damage is visible. Look for crushed cores, telescoping rolls, dirty or wet packaging, uneven edges, loose winding, liner cuts, and labels that have shifted on the liner. Measure width and length with an appropriate ruler or caliper. Confirm the leading edge and winding direction match the printer’s feed path.
Check that the liner peels cleanly without tearing and that the labels are die-cut through the face stock but not through the liner. A roll can look correct from outside yet jam as soon as the applicator reaches a weak section. Keep an approved roll nearby for comparison. If the shipment is from a new converter, increase the sample rather than assuming the printed box data tells the whole story.
Print and feed a representative sample
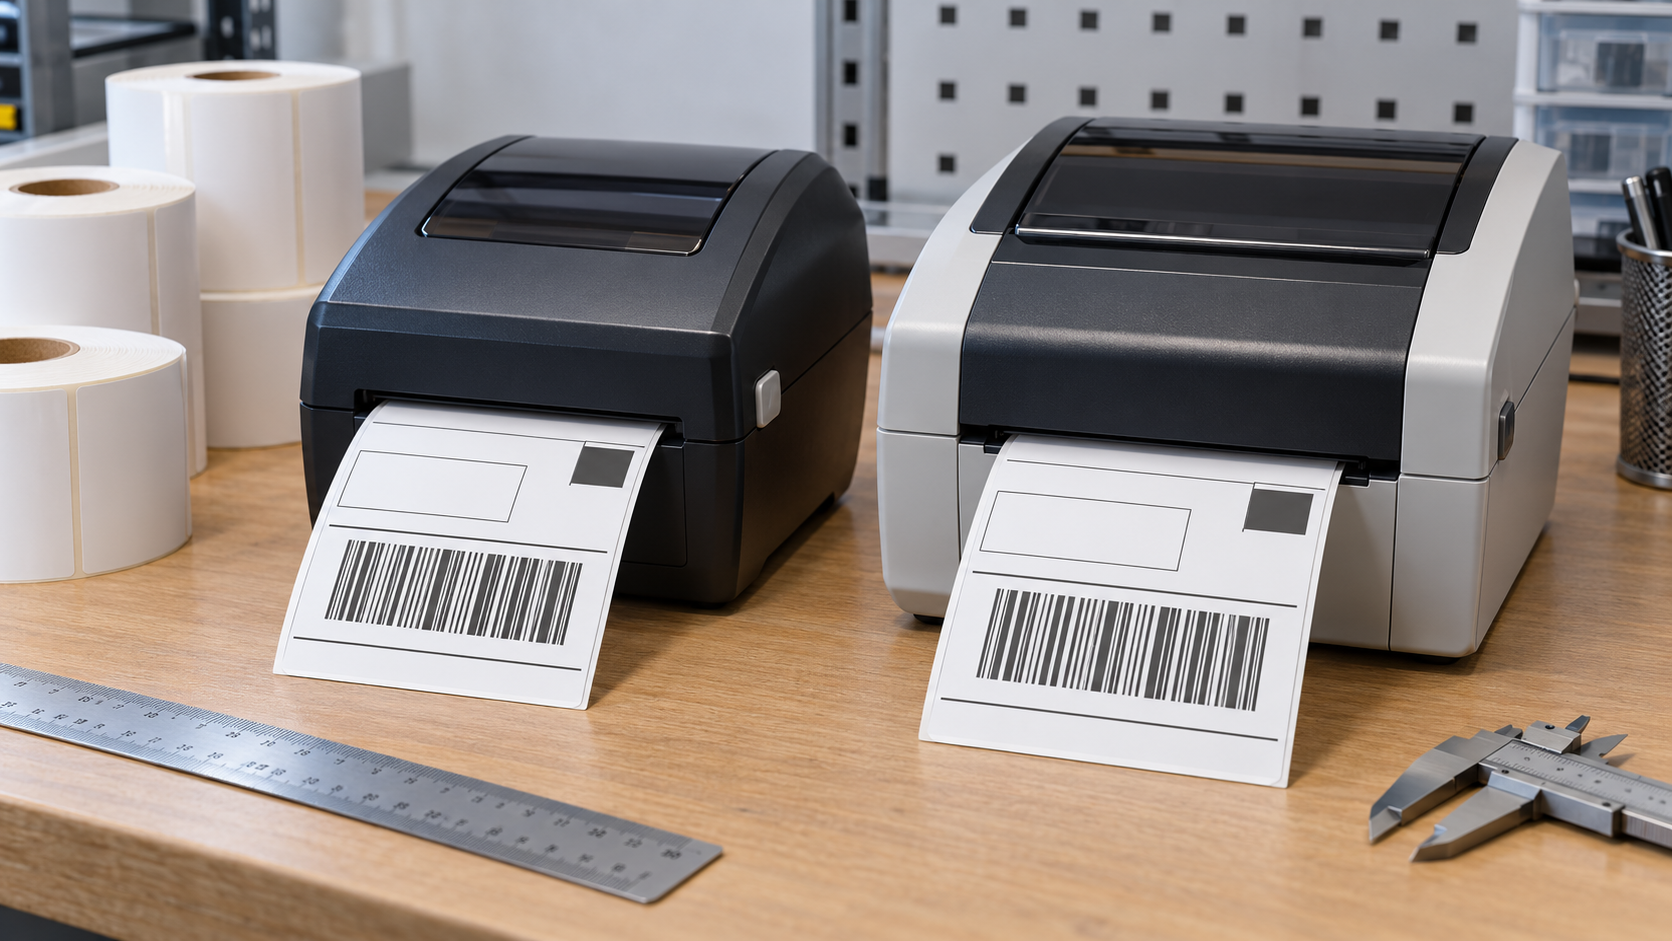
Install a sampled roll in the actual printer used at the site. Calibrate the sensor if the media type changed. Print a standard test that includes small text, a border near the edge, and the smallest barcode used in production. Run several labels in a row to reveal registration drift and inconsistent gap detection.
Look for blank streaks, uneven darkness, gray background, dust buildup, edge clipping, and changes from one label to the next. Scan the code with the normal scanner and verify that decoded data matches the source. A code that happens to scan once after repositioning is not a convincing pass for a fast line.
If the labels are etiquetas térmicas directas, verify that they darken properly in a direct thermal printer and that the image is not easily rubbed away in the intended workflow. Do not use a fingernail scratch alone as an acceptance test; handling, abrasion, heat, and scan performance should reflect the real use case.
Test adhesion on the real surface
Apply a few labels to the actual carton, pouch, bag, or product carrier. Clean and prepare that surface the same way operators do. Press each label with normal pressure and inspect immediate edge contact. Then check after the expected wait, temperature transition, and handling. A label that sticks to a clean test card may peel from recycled corrugate or a chilled plastic tub.
For a high-risk use, such as a cold room or long storage period, hold a sample through a shortened but relevant process trial before releasing the whole shipment. Ask the supplier of rollos de etiquetas térmicas for construction details and lot traceability if the adhesive behavior differs from the approved material. More aggressive adhesive is not always the answer; surface contamination or application temperature may be the true cause.
Record a pass, hold, or rejection
Use a one-page receiving form with date, supplier, item and lot, cartons sampled, dimensions, visual condition, feed result, print and scan result, adhesion result, and the employee’s decision. Attach photos of defects and retain a physical roll or sample labels when practical. Define who can release held stock and who contacts the supplier.
Keep rejected and approved rolls physically separated. A quarantine sticker on one carton is weak protection if identical cartons are later mixed on a shelf. If production urgently needs the stock, document an approved limited trial and monitor its output; do not silently convert a failed lot into normal inventory.
Use failures to improve the next order
Track repeat defects by supplier, label item, and lot. A single damaged carton may call for a freight claim. Repeated sensor misses may indicate that gap tolerance or winding direction is missing from the purchase specification. Repeated peeling may mean the adhesive requirement is too vague or the application surface has changed.
A useful incoming check closes that loop. It catches problems before they reach customers and creates evidence to revise the specification. The aim is not laboratory testing at the dock; it is a small, repeatable decision that protects the printing and labeling process.
Make sampling proportional to the risk
Choose the number of rolls and cartons to inspect based on shipment size, supplier history, and use. A new supplier or critical barcode label warrants more samples than a repeat shipment of low-risk shelf labels. Check rolls from the top and bottom of a pallet when freight damage is possible. Do not sample only the most accessible carton. Record how many were checked so a later problem can be traced to the inspection decision. If one roll fails, hold the affected lot while checking whether the defect is isolated or repeated. The rule should be written before a production shortage creates pressure to accept uncertain stock.
When a lot passes, note its storage location and earliest intended use so it can be found if later failures appear. Keep the first printed sample from that lot with the receiving record. It provides a baseline when someone reports that print quality deteriorated after several days in service. If the baseline is good but current output is poor, inspect the printer and storage conditions before blaming the entire lot.