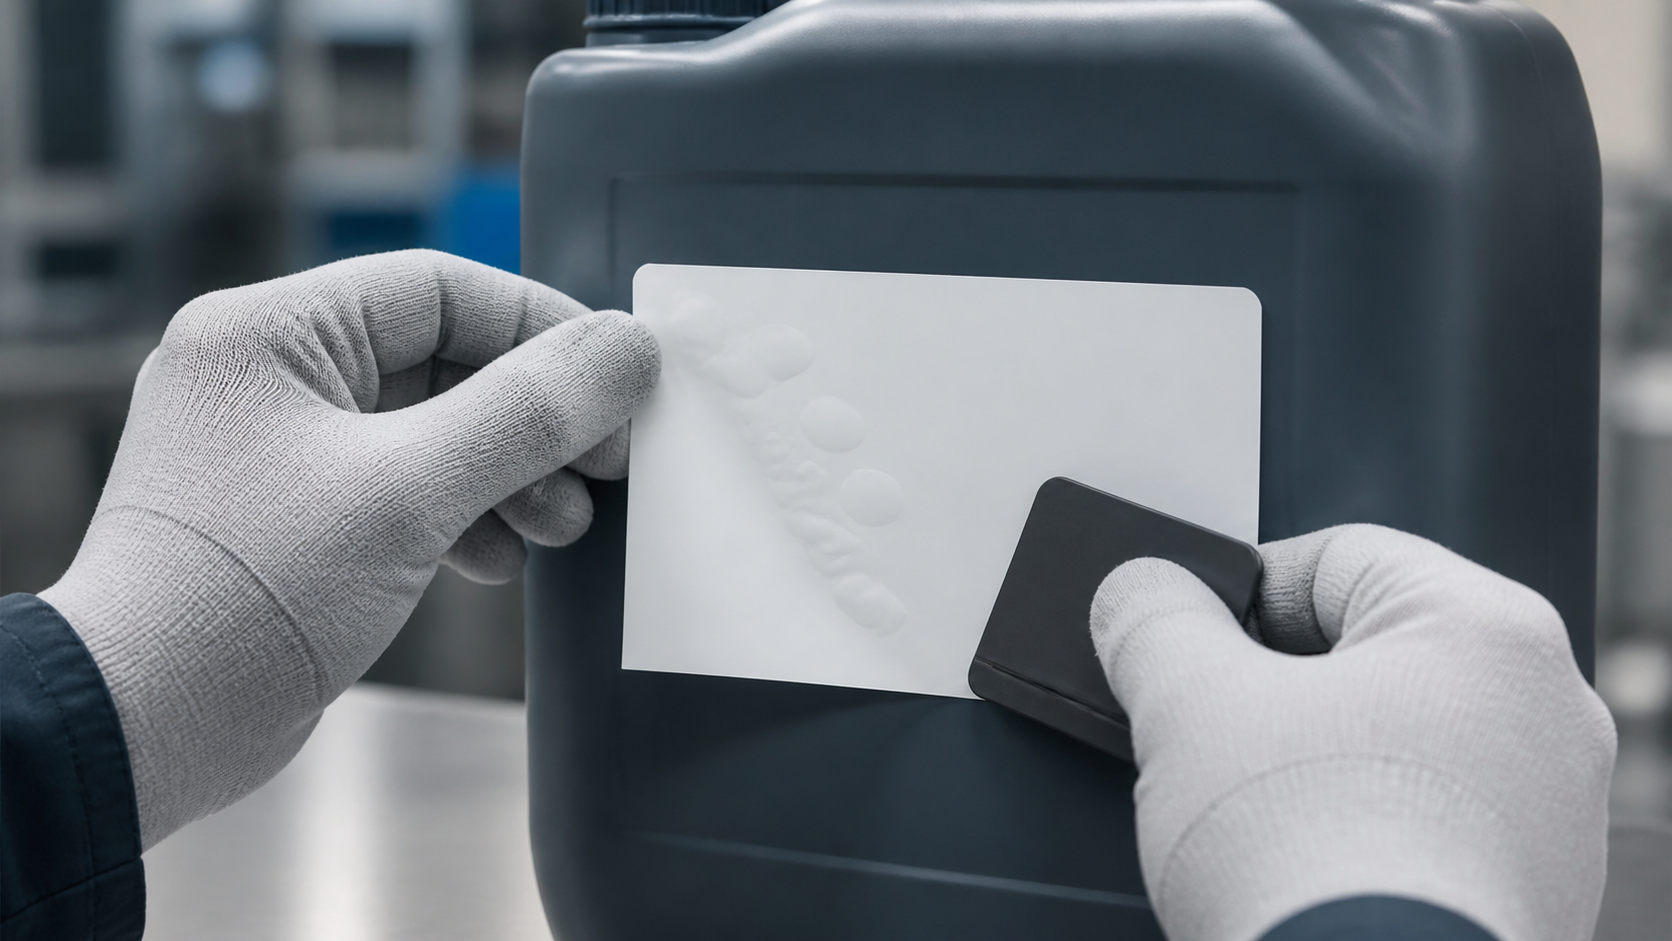
Thermal labels develop bubbles when air, moisture, vapor, or surface contamination becomes trapped between the adhesive and the item being labeled. Bubbles can appear immediately because the label was applied unevenly, or hours later because a plastic container releases gas as it warms. The correct fix depends on when the bubbles appear, where they form, and whether they can be pushed toward an edge.
The printer is rarely the cause. Printing may affect the label face, but bubbles form at the adhesive-to-surface interface. Before changing printer darkness or speed, inspect the container, application pressure, label size, storage temperature, and surface condition. Keep several failed samples and compare them with labels applied to clean, flat test pieces from the same production lot.
What Does the Bubble Pattern Reveal?
One large bubble near the center usually indicates trapped air from hand application. Many small bubbles may indicate surface texture, moisture droplets, outgassing, or contamination. A narrow channel running from an edge can come from a wrinkle that folded during application. Bubbles that appear only around printed or coated areas may show that the package surface is not uniform. Photograph the pattern before pressing it because that evidence can disappear.
Why Do Bubbles Appear Immediately?
Immediate bubbles are commonly created when a large label touches the surface in several places before the operator can smooth it down. The adhesive seals pockets of air inside. Applying the whole face at once makes this more likely, especially with thin film labels that show every defect. Start at one edge, maintain light tension, and press progressively across the label with a clean squeegee or roller.
How Do Moisture and Condensation Cause Bubbles?
Water prevents pressure-sensitive adhesive from making direct contact with the substrate. Condensation may be nearly invisible on a cold bottle, metal part, or refrigerated package. When the item warms, droplets can move or evaporate beneath the label and create cloudy areas or bubbles. Dry the surface, control the temperature difference, and position air knives or wipe-down equipment as close as practical to automatic application.
What Is Plastic Outgassing?
Some injection-molded plastics contain volatile components that diffuse from the material, particularly after heating. If a label forms a low-permeability seal, released vapor can collect beneath it and create delayed bubbles. Polycarbonate, ABS, fiberglass, and other molded parts may need a specific outgassing evaluation. A label that looks perfect at application can therefore fail after warm storage or after the equipment begins operating.
Can Surface Contamination Trap Air?
Dust, grease, mold-release agents, silicone, cleaning residue, and loose oxidation create high spots and prevent complete adhesive contact. Clean the surface using a method approved for the substrate and allow it to dry fully. Do not assume a container is clean because it is new. Manufacturing and handling residues can be invisible. Wear clean gloves during testing so fingerprints do not introduce a new variable.
Does Label Size or Shape Matter?
Large labels are harder to apply without sealing air, while sharp corners and stiff materials may bridge over compound curves. A label designed for a flat panel can wrinkle or bubble on a tapered bottle. Reduce the label area only if required information still fits, use rounded corners, and avoid crossing seams or sudden changes in curvature. For cylindrical products, confirm the label is flexible enough to conform without lifting.
Use a Controlled Bubble Test
Test production artwork and real containers rather than a generic blank label.
- Condition labels and containers at the normal application temperature.
- Clean half the containers and leave half in the normal production condition.
- Apply labels with measured, repeatable pressure from one edge to the other.
- Inspect immediately, after twenty-four hours, and after the expected heat cycle.
- Record bubble size, location, barcode readability, and whether pressure removes the defect.
How Do You Separate Trapped Air From Outgassing?
If bubbles appear immediately and move when pushed, application air is likely. If they develop after warm exposure, return after being pressed flat, or occur repeatedly on molded plastic, outgassing is more likely. Apply the same label to glass or metal as a control. A successful control suggests that the plastic surface or its preparation—not the label roll alone—is driving the failure.
When Should You Use Air-Egress Adhesive?
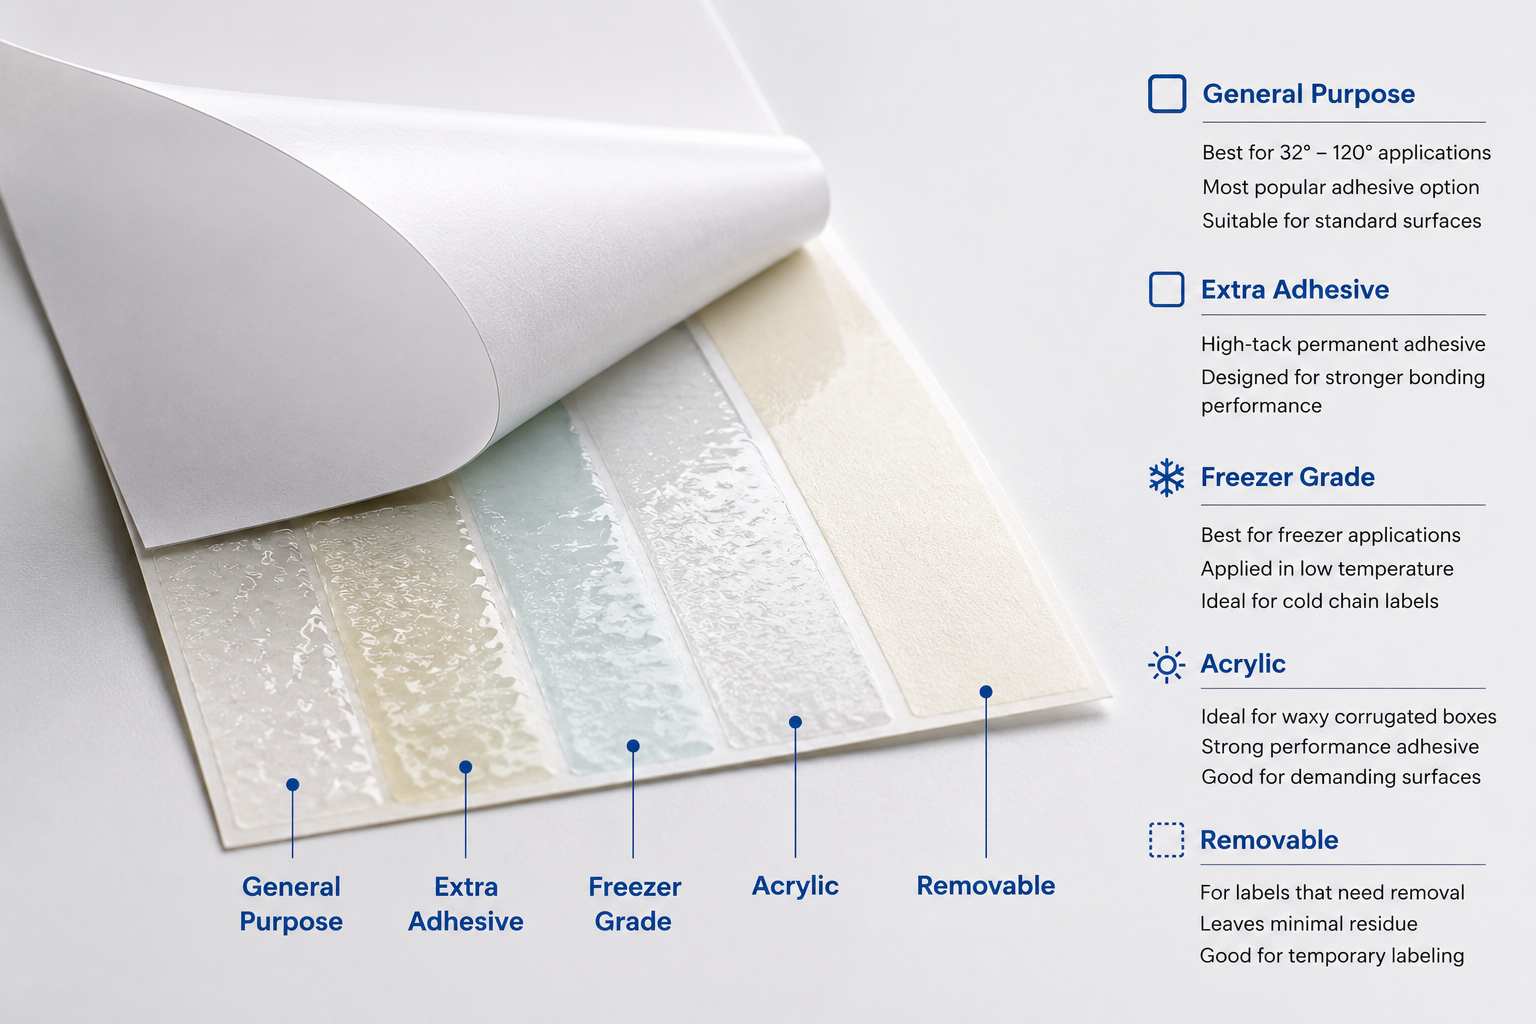
Air-egress constructions use microscopic channels in the adhesive to let trapped air escape during application. They can improve large-format hand application and reduce bubbles on some outgassing surfaces. They are not a substitute for cleaning, drying, or validating the substrate. The channels, adhesive strength, print method, and expected environment must still match the product, especially where liquids or chemicals could enter from the edges.
Can Existing Bubbles Be Repaired?
Small application bubbles may be pushed gently toward the nearest edge before the adhesive reaches full bond. Repeated lifting and reapplying can stretch the label, reduce adhesion, and create misalignment. Puncturing a bubble leaves a hole and is unsuitable for barcodes, cleanable surfaces, regulated identification, or outdoor exposure. If bubbles return after smoothing, treat the label as failed and investigate outgassing or moisture.
What Should You Ask a Supplier?
Provide the container material, molding process if known, surface texture, cleaning method, label dimensions, application speed, temperature range, and time when bubbles appear. Test thermal labels with the final design and actual heat exposure. Ask the label supplier about conformability, adhesive coat, air-egress options, chemical resistance, and whether the complete construction has been evaluated on a comparable substrate.
How Do You Prevent Bubbles in Production?
Standardize surface preparation, keep applicator rollers clean, control label and product temperature, and use enough wipe-down pressure to expel air without sliding the label. Check the leading edge first because poor initial contact can trap air across the rest of the face. Approve both immediate appearance and delayed performance after storage. Retain the successful settings, sample roll, and container lot for future comparison.
What Is an Acceptable Result?
Set acceptance limits before the trial. A decorative label may reject any visible bubble, while an internal identification label may permit a small defect outside the printed data. No bubble should distort a barcode, cover required text, allow liquid entry, or grow during service. Sample across the beginning, middle, and end of a roll so a good first label does not hide a tracking or application problem.