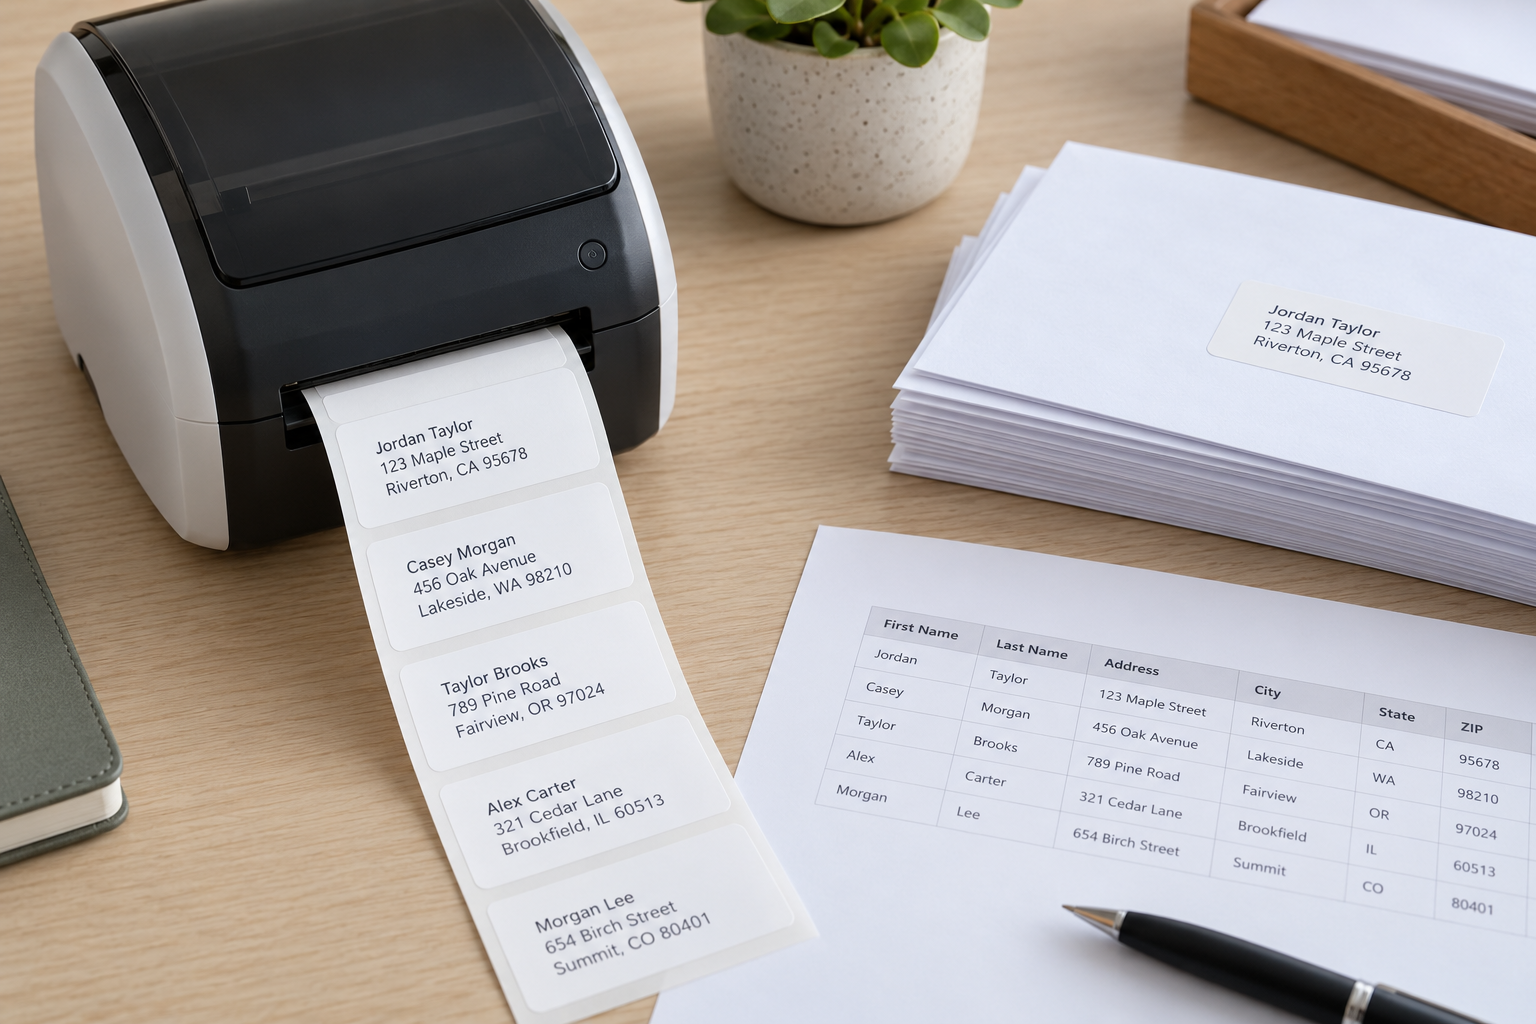
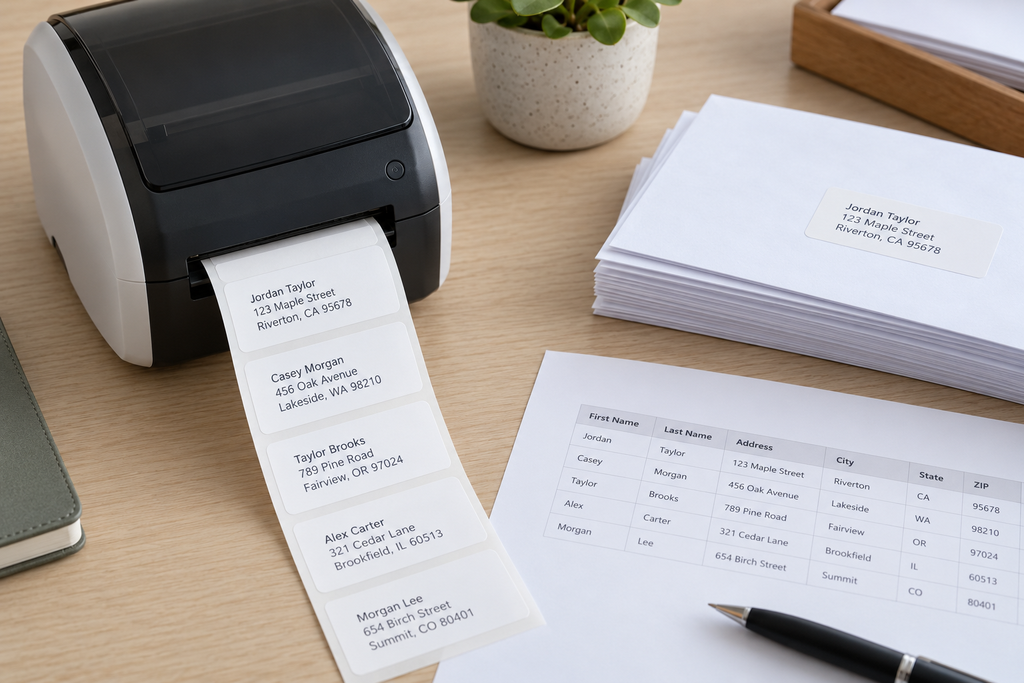
A reliable DK-1201 mail merge begins with clean address data, a template matched to the 1.1 by 3.5-inch die-cut label, and a short print test. Most missing-name problems come from empty fields, inconsistent column mappings, or records longer than the template allows. The printer can produce crisp text while still printing the wrong recipient. Check the data and the physical output together before running the full mailing list.
Prepare the source file
Keep recipient name, organization, street, unit, city, region, postal code, and country in separate columns. Remove blank rows and duplicate contacts. Decide which fields are mandatory and flag records that lack them. Do not rely on a single free-text address column with unpredictable line breaks; those line breaks can behave differently when moved into label software. If international addresses are included, verify their field order rather than forcing all records into a domestic template.
Create a short test list with edge cases: a very long name, an apartment, a company, an accented character, and a record without an optional organization. This is more revealing than testing only the first three names in the spreadsheet. Save the test list separately from the full mailing file so it can be reused after a template change.
Map fields to the template intentionally
Choose the DK-1201 die-cut size in the label application. Insert database fields one by one and inspect the preview. If the first line is blank on some records, the template may place an optional organization above the recipient name without suppressing empty lines. If names disappear, verify the source column mapping and whether the software treats the first row as headers. A missing-name problem should be fixed in the merge definition, not covered by moving the rest of the address upward manually.
Set a readable font and line spacing. Avoid making the type tiny to fit the longest outlier. If too many valid records overflow, split the mailing into different templates or move to a larger label. DK-1201 is meant for concise address blocks; a small number of unusual records can be handled separately.
Print a controlled batch
Print the edge-case test records first. Compare each label against the source data. Check names, unit numbers, postal codes, punctuation, and special characters. Then print a small production batch and check the first, middle, and last label for alignment. If the printed content moves gradually, revisit the media profile. If one record alone is wrong, look at data or merge logic.
For large mailings, record the last successfully printed row before stopping the job. Reprinting a partial batch without a checkpoint can generate duplicate mailings or skip recipients. Keep rejected labels separate from accepted ones. A simple count of source records, printed labels, and approved labels helps reconcile the mailing at the end.
How do you catch a bad merge before wasting a roll
Preview the first record and several records chosen for difficult field lengths, not just a consecutive sample. Print those records alone. Compare each physical label with the source file and mark any blank name, duplicated line, truncated postal code, or unexpected character. If one field fails across all records, inspect mapping. If only a few records fail, inspect their data. Correct the source or merge rule, then rerun the same test set. This is faster and safer than checking a full roll after it is printed.
What if addresses differ by country
Use a layout that respects each destination’s postal convention, or split the job by country when the differences are substantial. A fixed domestic template can put postal codes or country names in awkward positions for international mail. Keep country in a separate field so it can be omitted or displayed intentionally. Print a sample from each major destination group. When a field is optional, make sure a missing value does not leave a blank line that pushes the rest of the address toward the label edge.
How do you reconcile the final mailing
Before printing, count approved source records. During printing, note any rejected or reprinted labels and the record numbers involved. At the end, compare the accepted label count with the approved record count. Do not assume that the printer’s reported output equals usable labels; jams or blank pieces can create a gap. Attach the accepted labels in record order or use a scan/checkoff process. This simple reconciliation reduces duplicate or omitted mailings when a job stops midway through a roll.
Example of a name lost in a merge
A database contains separate First Name, Last Name, and Company columns. A label template maps only Company to the top line and suppresses blank lines. Personal contacts with no company therefore print without any name. A test set containing both personal and business recipients exposes the problem immediately. Revise the merge rule so the recipient line is built from first and last name, while the company is an optional separate line. Then print both kinds of records again. Do not fix the issue by typing names manually into individual labels, because that creates a second data source and makes the next mailing just as vulnerable.
Final approval question
Before applying labels, reconcile the number of approved contacts, labels printed, and labels rejected. If the totals differ, stop and identify the missing or duplicated records. Mail merge is not complete when the printer finishes; it is complete when every approved recipient has exactly one legible label. Keep the edge-case test records for the next mailing.
Verify the address in its final position
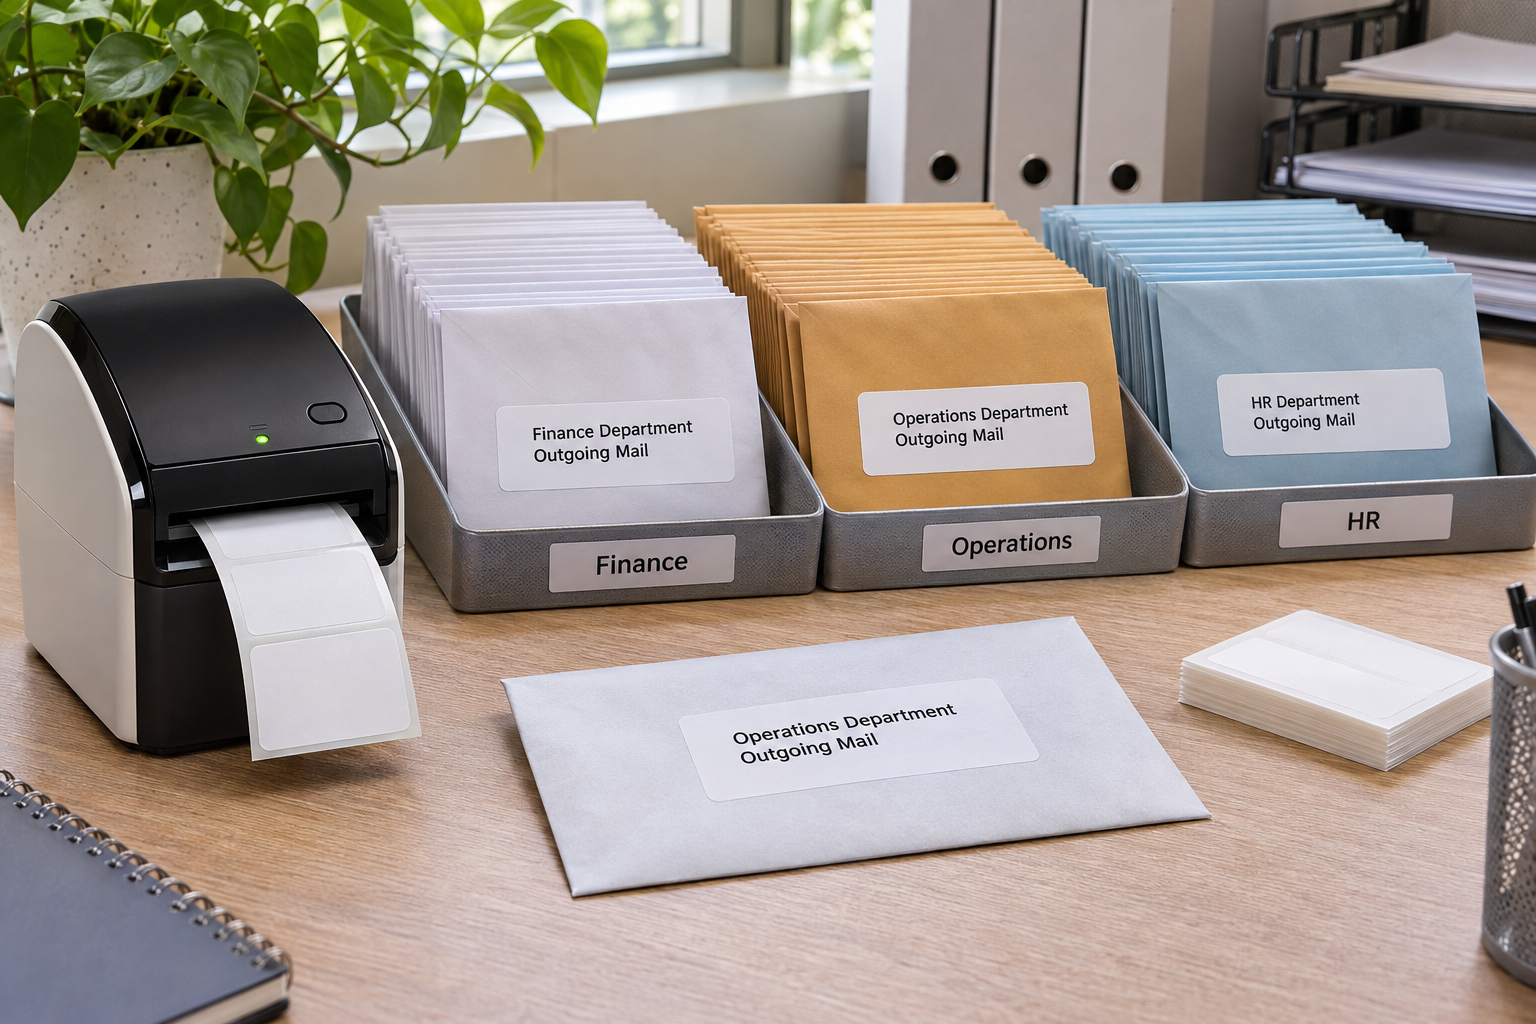
Apply labels to the actual envelope or package, away from seams and windows. Make sure the text is readable against the material. If a return address is also present, ensure its placement does not confuse the recipient block. The DK-1201 address labels page lists a 1.1 by 3.5-inch compatible format with 400 labels per roll. For longer address blocks, compare larger direct thermal labels rather than forcing every record into a too-small template. A successful merge has accurate data, legible layout, and a reconciled print count.