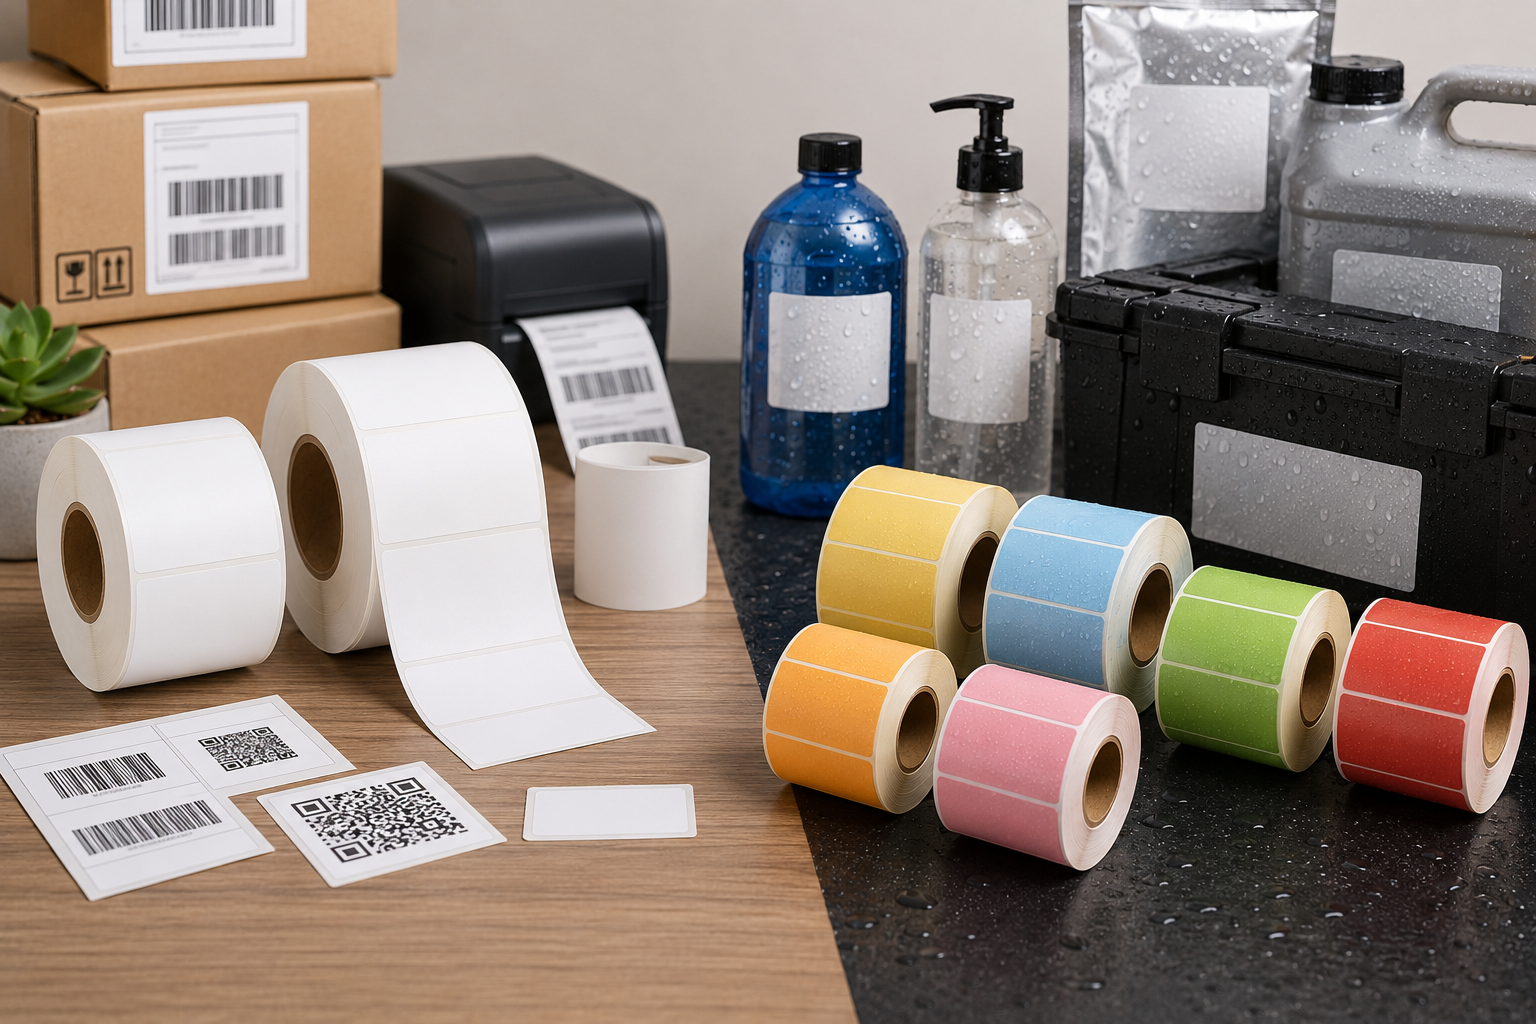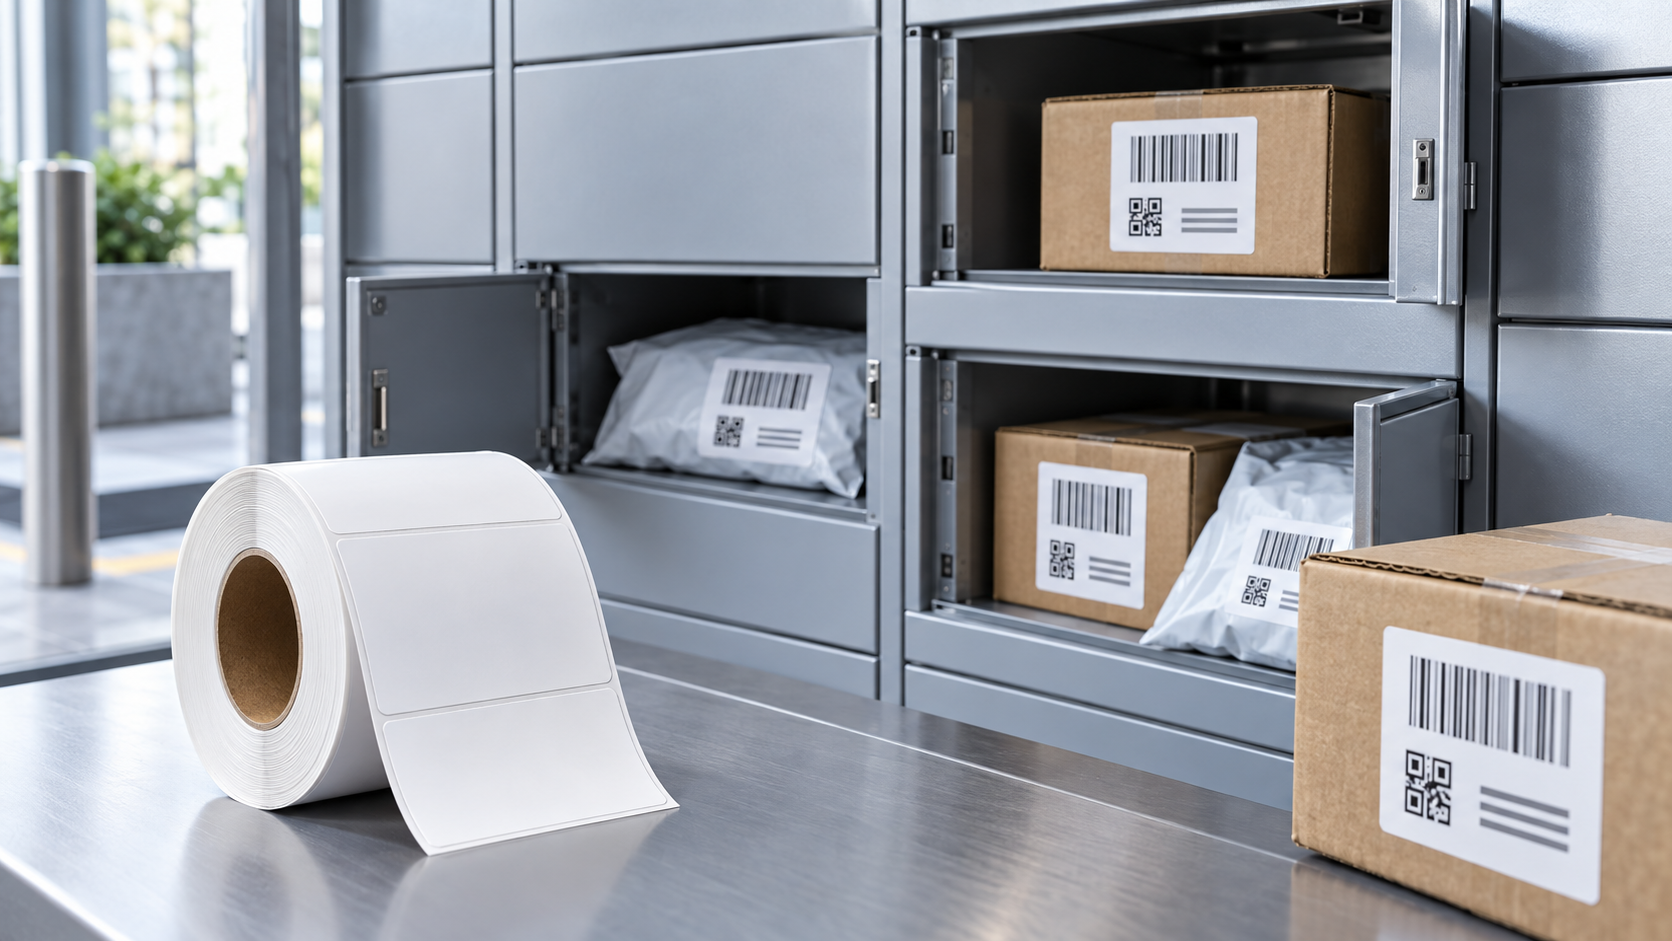
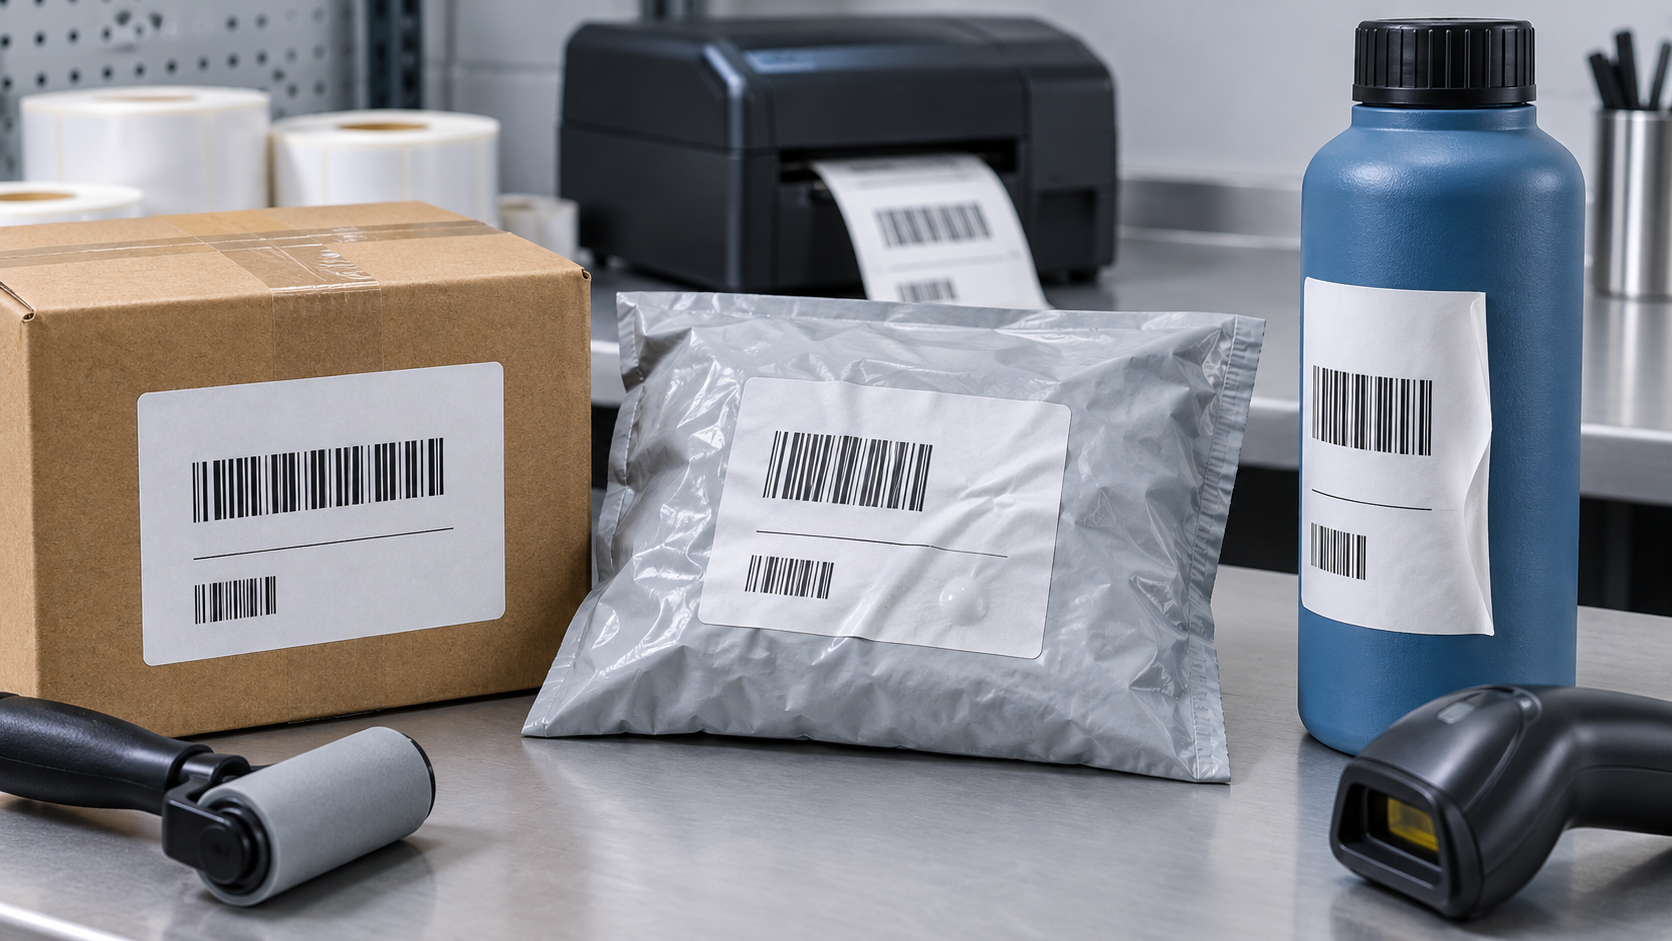
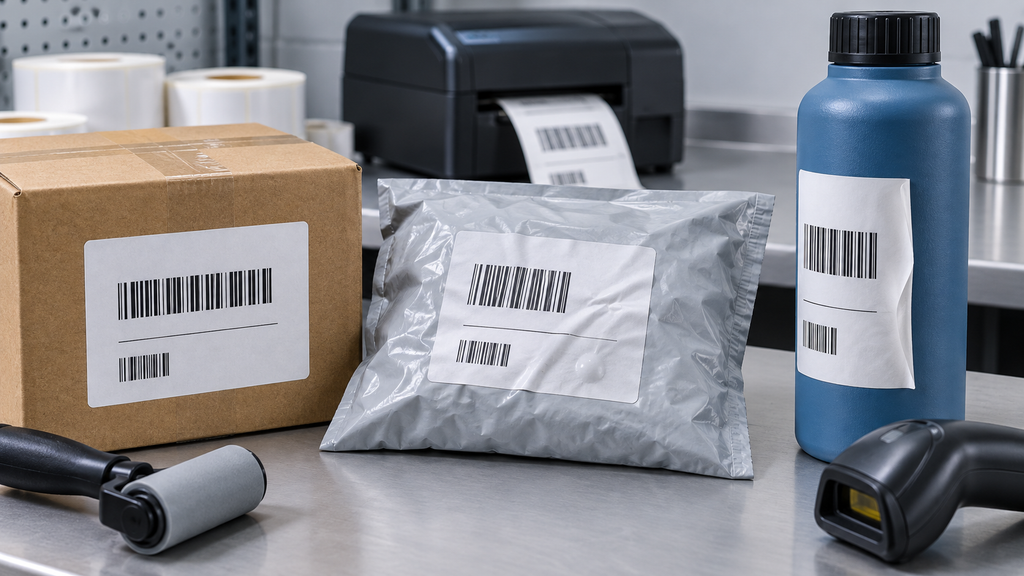
Wrinkles, bubbles, and tunnels form when the label cannot lie flat as it bonds to the package. Common causes include trapped air, uneven pressure, curved or flexible surfaces, moisture, contamination, temperature changes, label stiffness, package movement, and an adhesive that does not wet out evenly.
A reliable choice begins with distinguish wrinkles bubbles and tunnels and apply the label from one edge. The specification should also state the printer, surface, application temperature, service conditions, and acceptance test.
Buyers can review available pressure sensitive labels to identify possible formats before requesting samples. A product page narrows the search, but the real package and printer determine whether a construction is suitable.
Distinguish Wrinkles Bubbles and Tunnels
A wrinkle is a folded ridge in the facestock, a bubble is a closed pocket of trapped air or vapor, and a tunnel is a longer raised channel. The shapes point to different causes. Wrinkles often begin during placement, while bubbles and tunnels may grow after temperature or package movement.
Photograph the defect before removing the label and mark its position on the package. Note whether it appears immediately or after storage. Repeating defects in the same direction can reveal application motion, web tension, or package flexing.
Apply the Label From One Edge
Placing the full label onto the surface at once can trap air, especially on large formats. Touching both ends first forces excess material toward the middle. Fast manual application also creates skew that operators may flatten into a wrinkle.
Anchor one edge, keep the remaining label slightly tensioned without stretching it, and wipe progressively across the surface. Automated systems should control peel speed, product position, wipe pressure, and the angle at which the label reaches the package.
Use Even Pressure Across the Label
Pressure allows the adhesive to contact microscopic high and low points on the substrate. Light or uneven wiping leaves weak areas where air and moisture remain. Excess pressure on a flexible package can deform the package and create new folds when it returns to shape.
Use a clean roller, pad, or controlled hand motion suited to the package. Check contact at the center and all four edges. For an applicator, inspect the wipe roller or tamp pad for wear, contamination, and uneven alignment.
Control Moisture Dust and Oil
Condensation, cleaning residue, dust, fibers, and oil occupy the surface that the adhesive needs to contact. A label may bridge over contamination, leaving visible bubbles or channels. Moisture can also vaporize or move when the package warms.
Label a clean and dry area whenever possible. Test the real cleaning process and allow the surface to reach the required condition before application. If the operation cannot avoid moisture, qualify the complete label and application method under that limitation.
Account for Curves and Flexible Packaging
A stiff label resists a tight curve, while a flexible pouch changes shape during filling, stacking, and handling. A label applied to an empty bag may buckle after the bag expands. A large label also accumulates more dimensional stress than a small one.
Apply samples after the package reaches its final shape. Test shorter dimensions around curves, rounded corners, a more conformable facestock, or a different orientation. Keep barcodes away from the area that bends most.
Manage Temperature and Material Movement
Plastic, paper, adhesive, and container materials expand and contract at different rates. Labels applied cold may wrinkle as the container warms, while labels applied to a warm flexible package may tunnel after cooling. Adhesive wet-out also changes with temperature.
Record both application and service temperatures. Condition the label and package to the real process, then inspect after each temperature transition. Do not use a room-temperature result to approve a cold-room or heated-fill workflow.
Check Roll and Die Cut Quality
Curl, uneven release, excessive winding tension, liner damage, and adhesive at the label edge can interfere with smooth application. A label that lifts from the liner unpredictably may land on the package at the wrong angle.
Inspect several positions from the start, middle, and end of the roll. Compare a known-good lot, document roll profile and liner condition, and keep affected samples. Supplier investigation is faster when the physical evidence is preserved.
Field Test Checklist
- Distinguish Wrinkles Bubbles and Tunnels Photograph the defect before removing the label and mark its position on the package.
- Apply the Label From One Edge Anchor one edge, keep the remaining label slightly tensioned without stretching it, and wipe progressively across the surface.
- Use Even Pressure Across the Label Use a clean roller, pad, or controlled hand motion suited to the package.
- Control Moisture Dust and Oil Label a clean and dry area whenever possible.
- Account for Curves and Flexible Packaging Apply samples after the package reaches its final shape.
- Manage Temperature and Material Movement Record both application and service temperatures.
Before approving a full order, provide the written requirements for why do thermal labels wrinkle bubble or tunnel after application to BETCKEY labels. Confirm the exact facestock, adhesive, dimensions, roll format, printer compatibility, and sample conditions rather than assuming that a general product name proves performance.
Common Questions
Can bubbles be removed after application Small air pockets may be pushed toward an edge immediately after application, but puncturing or repeatedly lifting the label can damage the facestock and barcode. Correct the application method when defects repeat.
Will a stronger adhesive stop wrinkles Not necessarily. A higher bond may hold a wrinkle in place rather than prevent it. Placement, pressure, label flexibility, package shape, cleanliness, and temperature should be checked first.
How long should samples be observed Inspect immediately, after the adhesive has had time to build bond, after each temperature change, and at the end of the required service period. Some tunnels do not appear until the package flexes or warms.
Final Selection
Approve the label only after the field test confirms the required service life and check roll and die cut quality. Retain the printed sample, media lot, printer settings, package description, exposure record, and acceptance result. These details let purchasing compare future lots against the same requirement and help operations investigate a failure without guessing.
Production Approval
Run the proposed construction through a representative production period. Include the hardest normal surface, the least capable printer that will remain in service, normal handling, and the full environmental cycle. Count feed errors, reprints, edge lift, image changes, unreadable text, and failed scans. Review the results before expanding the item to other stations or locations.