A parcel locker label must identify the package reliably through sorting, loading, storage, and collection. Start with the code the locker operator actually scans, the package surface, and the time the parcel may remain in the compartment. The pickup code sent to a customer by phone is not necessarily the code printed on the parcel, so confirm the platform’s workflow before designing a label.
Identify the Code Used at Each Handoff
Map the package from fulfillment to the locker door. A carrier may scan a shipping barcode at dispatch, while the locker operator scans another parcel ID when placing it inside a compartment. The customer may open the door with an app, PIN, or QR code that never appears on the box. Record which identifier is required at each step. Printing extra codes without a defined purpose increases the chance that an operator scans the wrong one.
Choose a Label That Fits the Actual Parcel
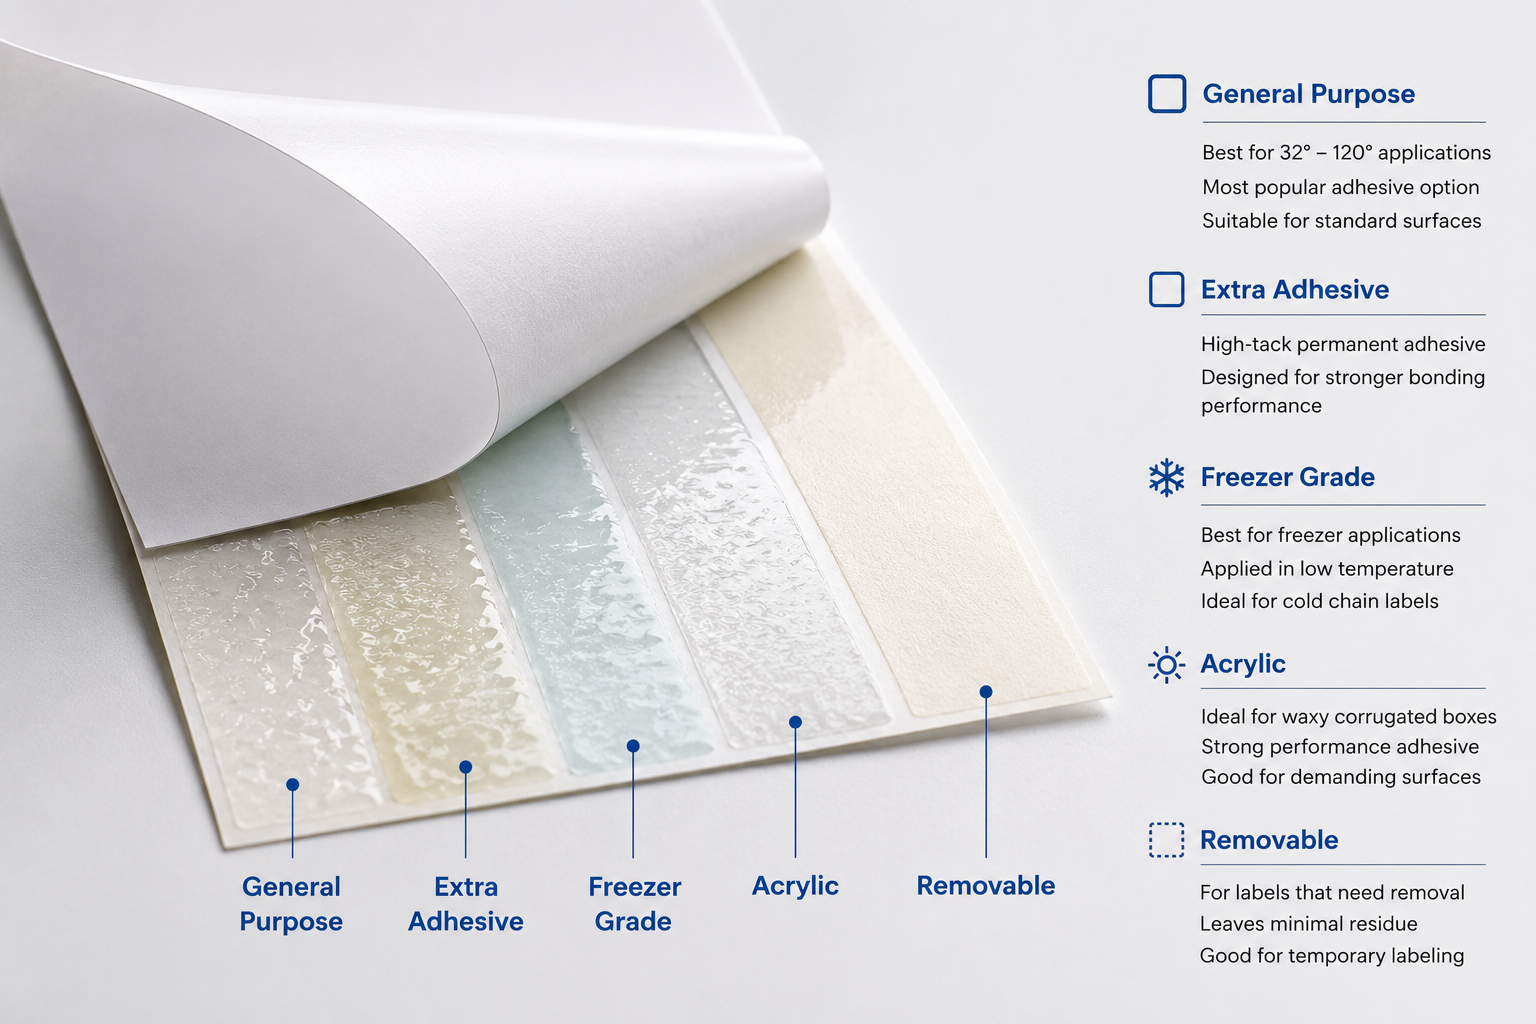
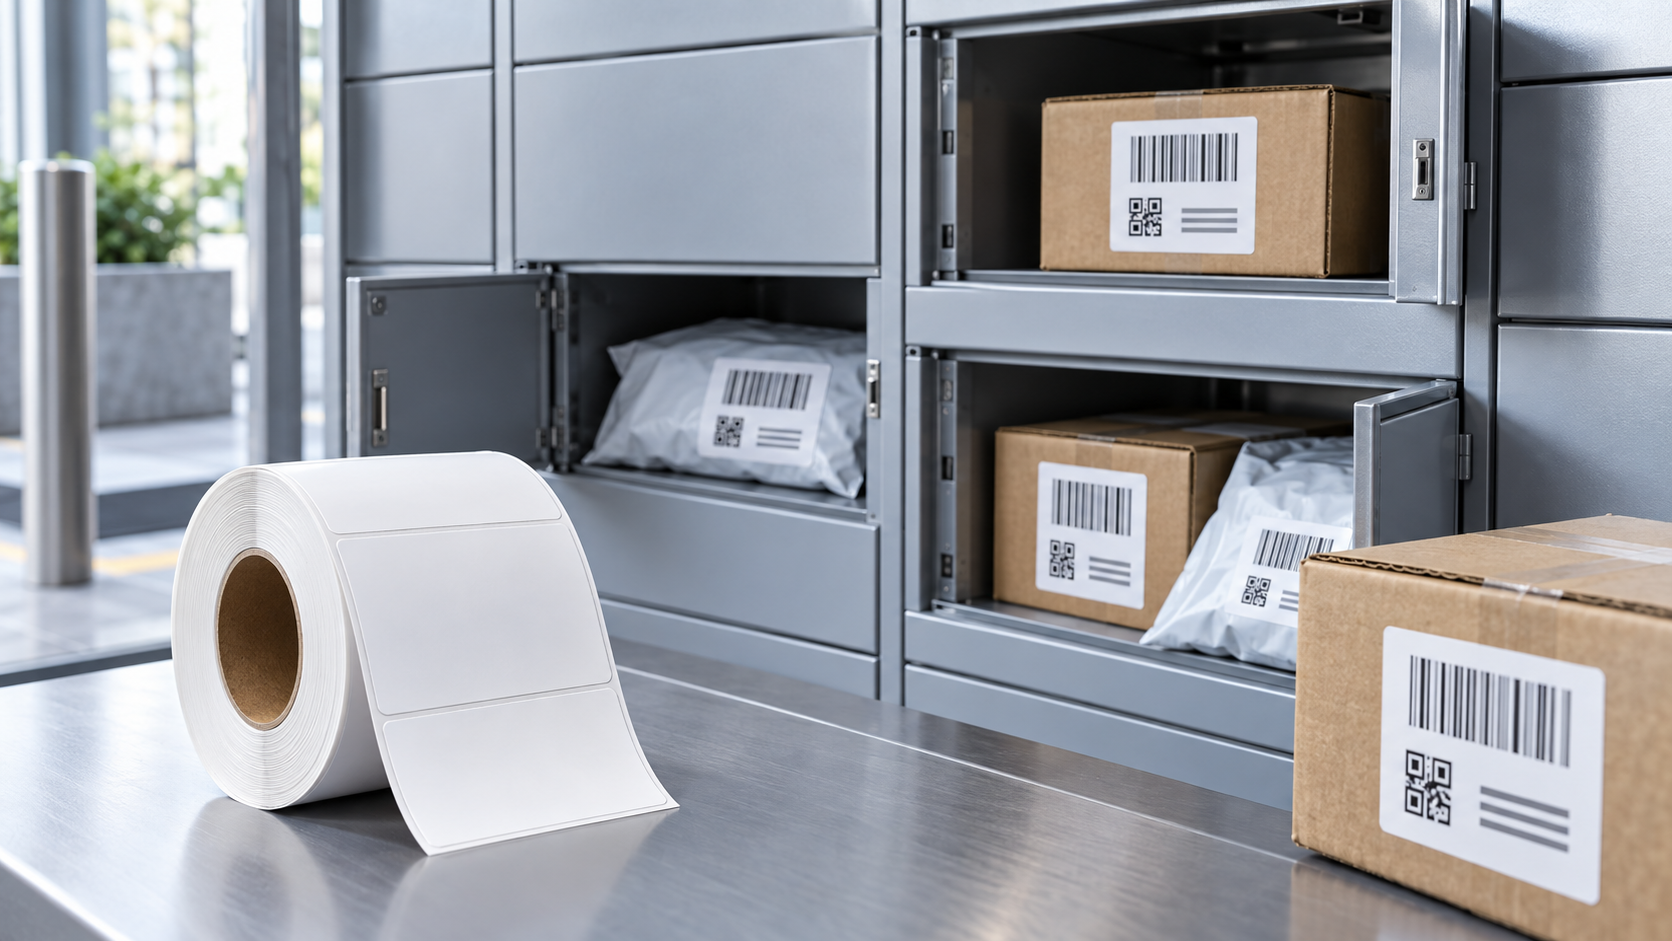
The same operation may ship corrugated cartons, coated mailers, and flexible poly bags. A label that bonds to clean cardboard can lift from slick film or from a creased mailer. Measure the smallest usable flat panel on each package type before choosing one universal size. Leave enough room for the required barcode, address or internal ID, and clear margins. If the smallest parcel cannot carry the standard layout, create a controlled smaller template rather than shrinking the entire design.
Select Material for the Locker Environment
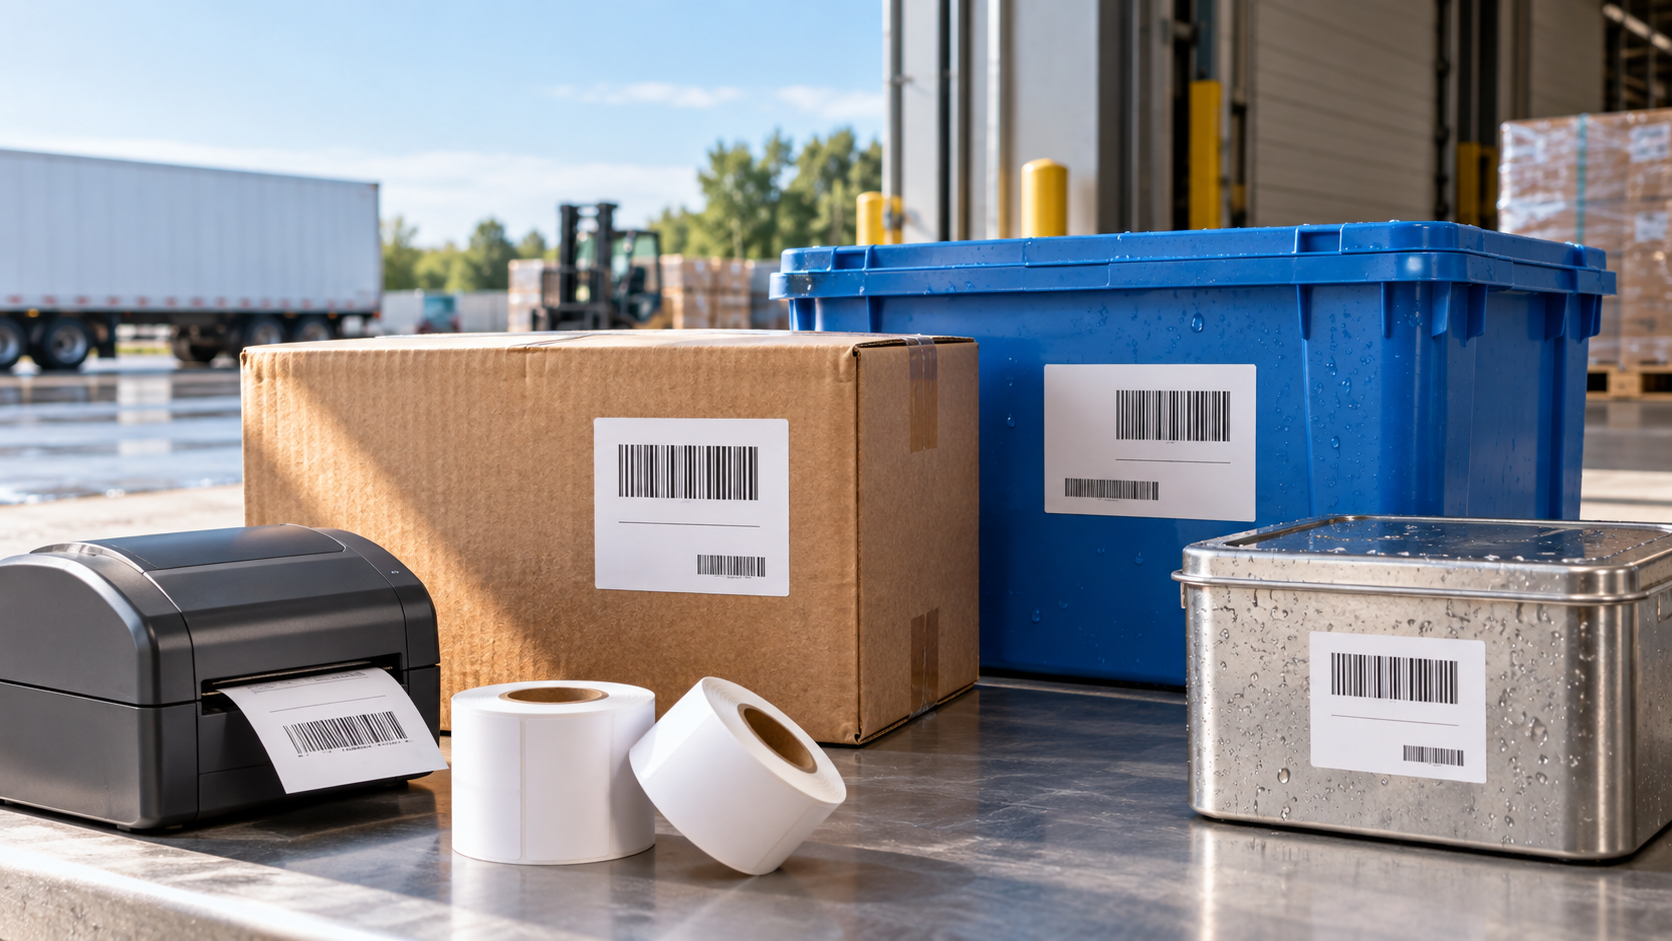
Direct thermal stock is well suited to short delivery cycles, but storage conditions still matter. Lockers may stand indoors, under a canopy, or outside where packages encounter humidity, sun, heat, and cold. Define the longest expected dwell and whether labels may be exposed while the door is open or during delivery. Test the proposed facestock and adhesive through that interval. If imaging fades or the adhesive releases, consider a protected placement or a different construction instead of assuming all locker locations are equivalent.
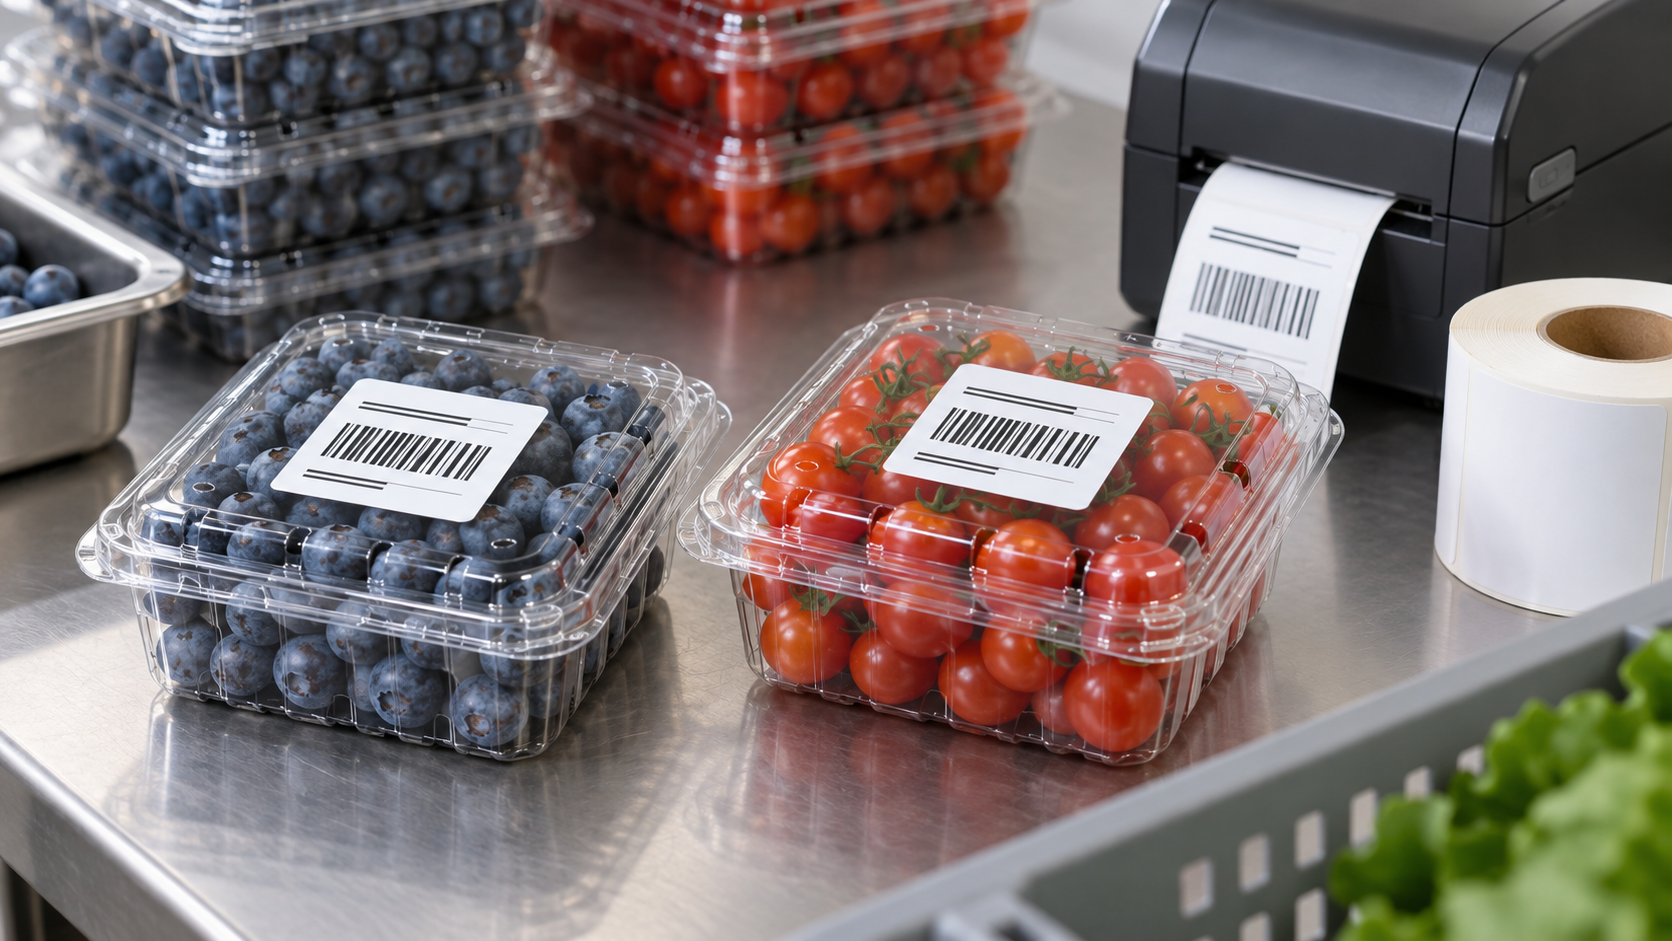
For routine parcel-locker labels, compare parcel locker labels against the package mix and the specific barcode requirement before ordering stock.
Keep the Barcode Easy to Scan
Use the symbol type and dimensions required by the locker or carrier system. Maintain an uncluttered light margin around the code, adequate contrast, and the scanner’s recommended print quality. Place the code on a flat area away from seams, tape overlaps, folds, and reflective plastic windows. Do not scale a shipping-label PDF arbitrarily to fit a convenient roll. Test with the handheld and fixed readers used in the route, because a phone camera test alone may not represent the actual scan.
Prevent Conflicting Labels
Returns, reroutes, and reused boxes can carry old routing barcodes. Before loading the locker, make sure obsolete route codes are removed or fully obscured while any identifiers still needed downstream remain visible. A new label beside an old one can create a plausible but wrong scan. If a package is relabeled, document which code is active and check it against the locker assignment. The goal is one unambiguous code for each scan task, not simply a neat-looking carton.
Apply Labels at a Stable Packing Point
Apply a label after the parcel has its final shape and closure, not while an empty mailer lies flat. Wipe away dust when practical and press across the full adhesive area, especially at the corners. Avoid placing the label across the opening strip, box edge, or a poly bag area that will stretch when filled. At the packing bench, show operators a preferred location for each package family. Consistent placement helps the loader find the code quickly in a crowded delivery route.
Test the Complete Locker Route
Print a sample from the production printer and apply it to each real package material. Scan it at packing, at dispatch, at locker loading, and after the longest realistic storage interval. Include a damp carton, a flexible bag, and a package handled multiple times. Record no-reads, edge lift, smudging, and mistaken-code scans separately. A label that scans immediately after printing may still fail at the locker if it wrinkles during transport or sits near condensation.
Handle Reprints Without Duplicate Parcel IDs
A jammed printer or damaged label may require a reprint. The software should retrieve the existing parcel record rather than creating a second active identity. Mark a failed print as void where the system supports that step, and remove or cover the damaged label on the package. Check the replacement code before assigning a compartment. Staff also need a clear exception path when a package arrives with an unreadable label; guessing from the address or shelf position can connect the wrong parcel to a customer notification.
Specify the Roll Before Buying
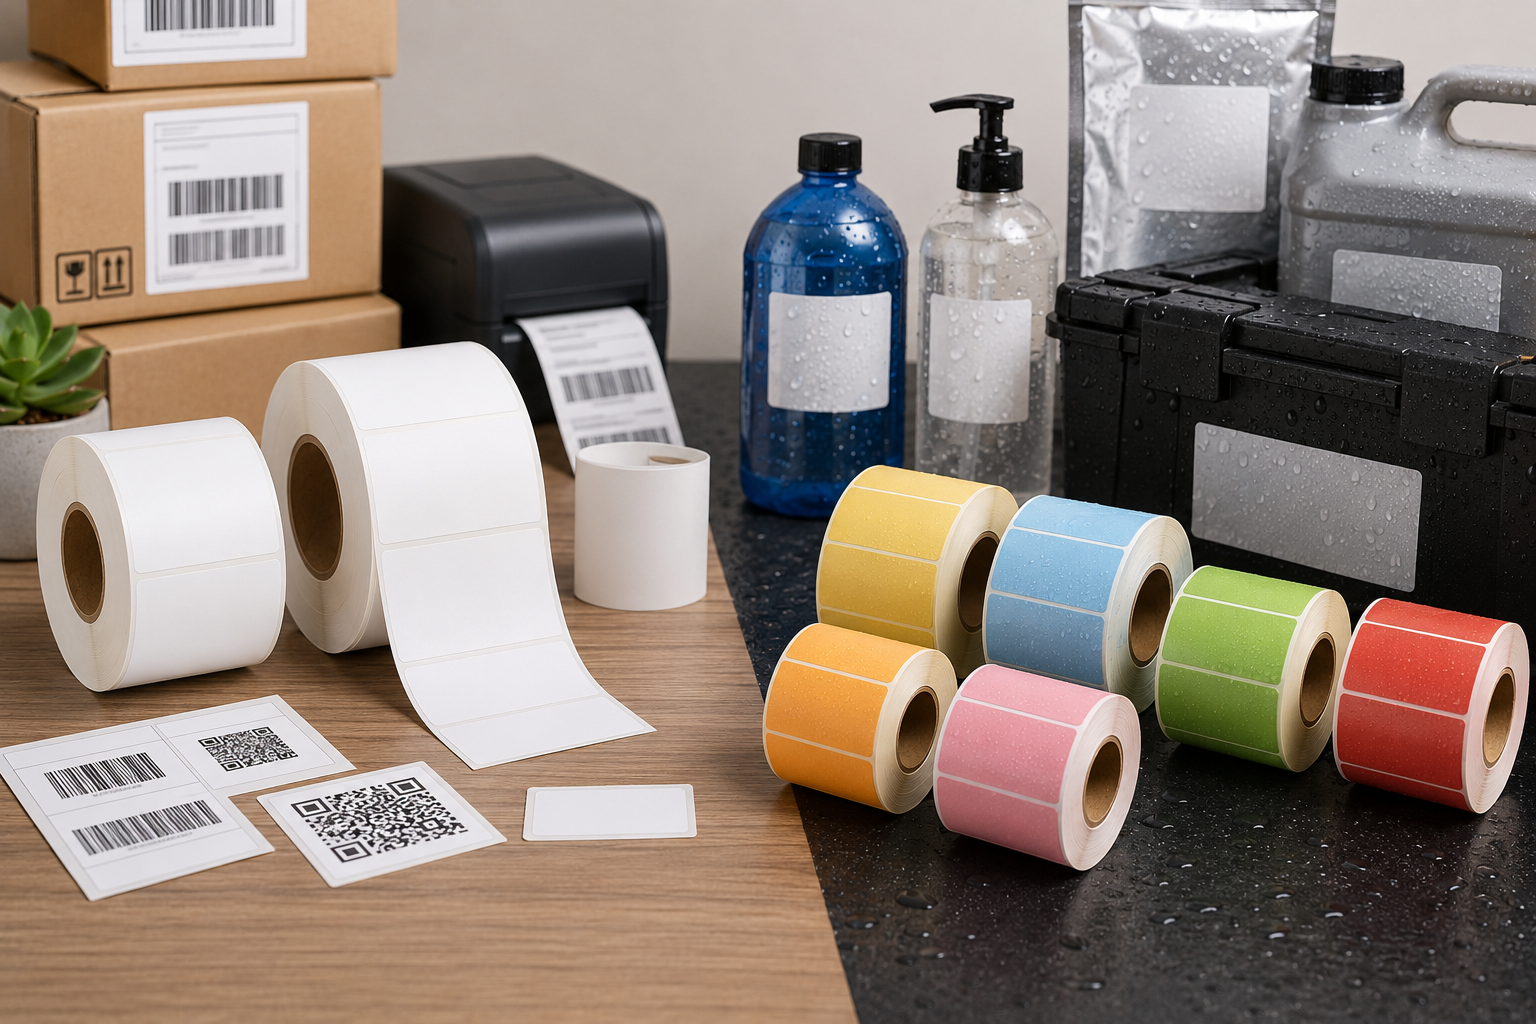
Give the supplier the printer model, print width, roll core, outside diameter, winding direction, sensor type, label dimensions, adhesive target surfaces, and storage exposure. Ask for converted rolls, not only loose sample labels, so printer feeding and peeling can be checked. If several packing sites use different printers, confirm compatibility at each site. Compare total cost per successfully loaded parcel, including relabeling and no-read time, rather than only cost per thousand blank labels.
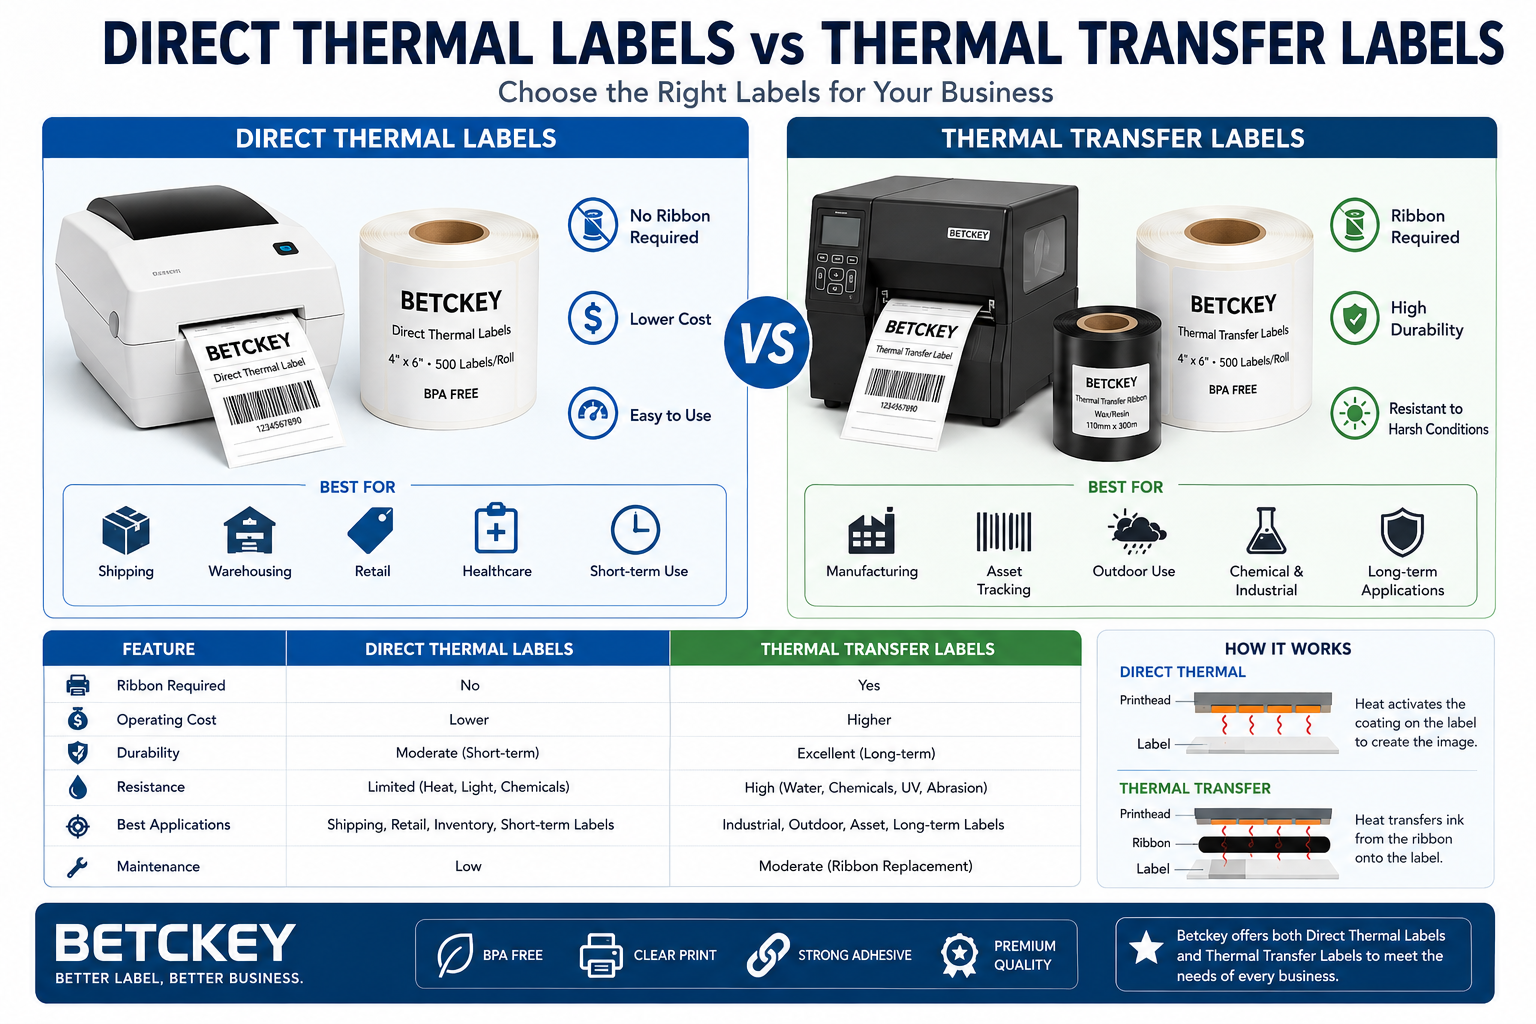
A supplier of direct thermal labels should be able to provide a roll sample for the printer and adhesive trial described above.
When Is Direct Thermal the Wrong Choice?
If the label must remain readable for a long outdoor dwell, sustained sunlight, heavy abrasion, or repeated wet handling, a standard direct thermal paper may not be suitable. A top-coated grade may improve performance in some conditions, but it still needs a real route trial. Escalate to a more durable print method or a protected tag when the acceptance test fails. Choosing a tougher material is justified by the required lifetime, not by a blanket assumption that every locker parcel needs it.
A Short Pre-Launch Checklist
Before buying in volume, confirm five things with the locker operator: the exact code to print, the minimum readable size, the scan point, the longest possible parcel dwell, and what happens when a scan fails. Then verify the roll in the actual printer and apply sample labels to each package material. Photograph the approved placements so packers do not improvise. During the first week, review failed scans and relabel counts by package type and locker location. A localized failure may call for a placement change rather than a new label for the entire network.